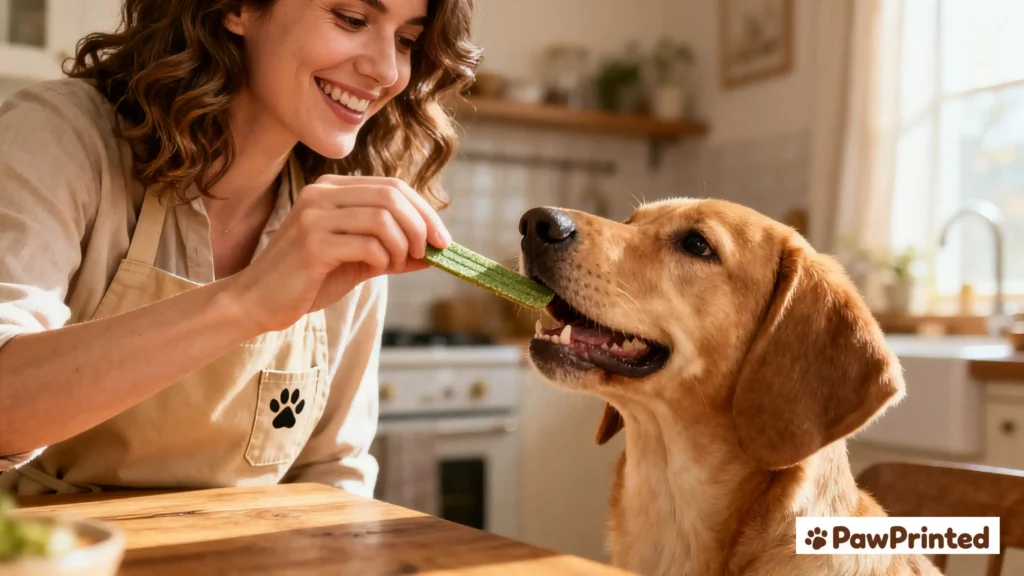
These chicken & broccoli dog treat sticks are my go-to when I want something high-protein, low-fat, and ridiculously easy. They’re vet approved as an occasional snack, and the dehydrator (or low-temp oven) dries them to a satisfying crunch. If you need a fully limited-ingredient approach, start with our
limited-ingredient dog food guide.
Ingredients (5 or Fewer)
| Ingredient | Amount | Benefit for Dogs |
|---|---|---|
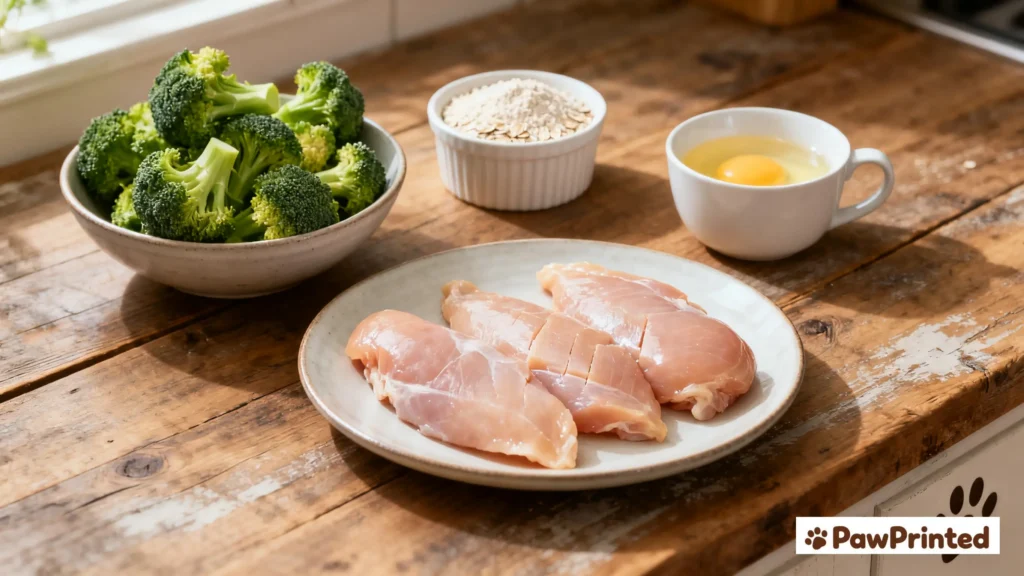
| Chicken breast, trimmed | 1 lb (450 g) | Lean, easy-to-digest protein |
| Broccoli florets, blanched & cooled | 2 cups (≈180 g) | Fiber + antioxidants |
| (Optional) Oat flour | 2–4 tbsp | Helps binding and shape |
| (Optional) Egg white | 1 | Extra binding; dries crisp |
| Water | 1–3 tbsp as needed | Adjusts piping consistency |
Equipment
- Food processor (I use this simple model on Amazon)
- Dehydrator (ChefPaw or see our full guide)
- Piping bag / zip bag
- Airtight storage jars or freezer containers
Step-by-Step Instructions
Step 1 — Prep & Blanch (10 minutes)
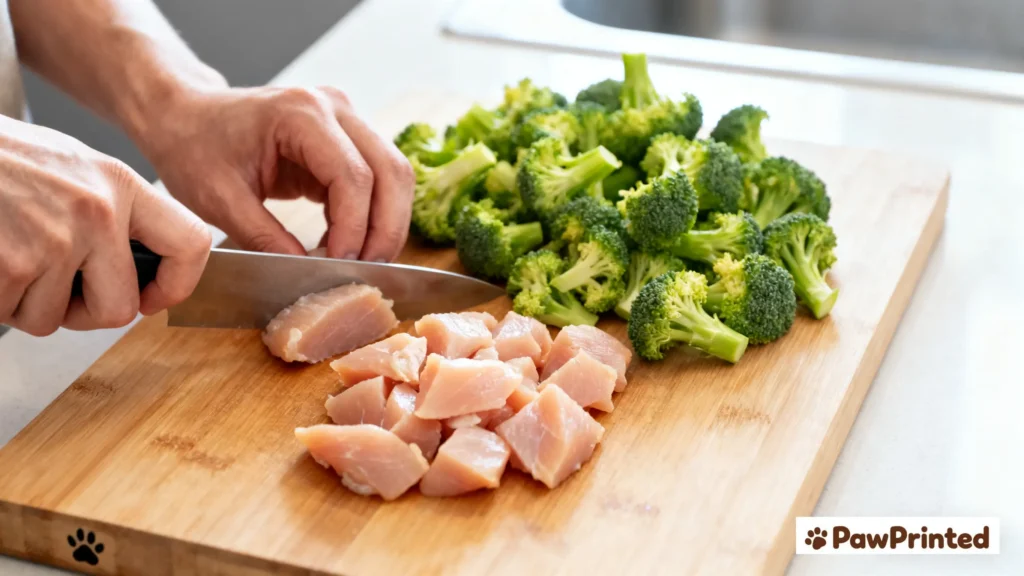
Rinse broccoli and cut into small florets. Bring water to a boil, blanch for 60–90 seconds, then shock in ice water. Drain very well and pat dry (excess water slows drying). Trim chicken breast of visible fat and tendon. If you’re new to homemade snacks, skim oursensitive-stomach transition tipsfirst.
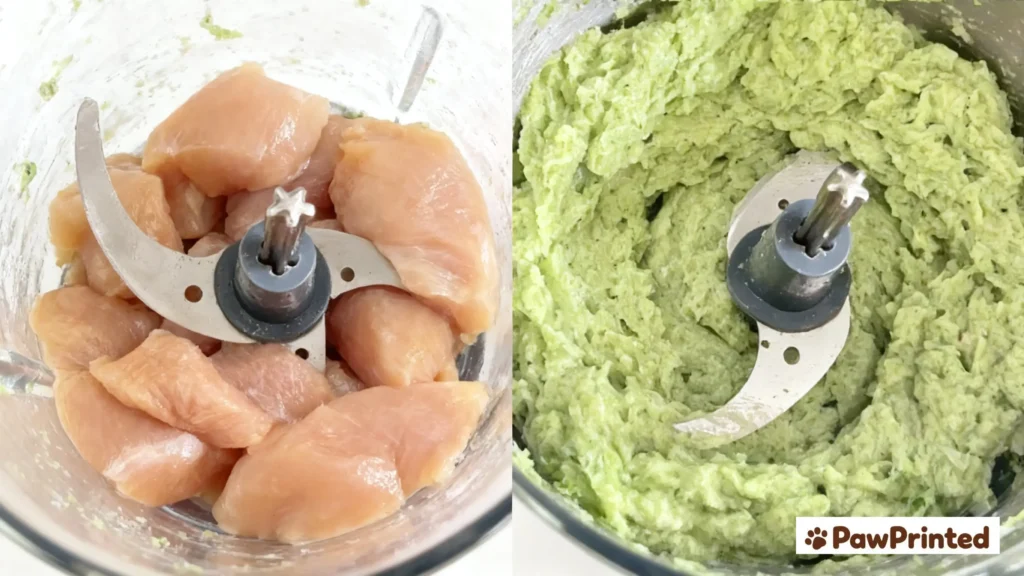
Step 2 — Blend to a Smooth Paste
Add chicken and broccoli to a food processor. Pulse to a smooth, spreadable paste. If crumbly, add 1–3 tbsp water; for a firmer stick, add 2–4 tbsp oat flour and/or the egg white. Process again until uniform green paste forms with no large chunks.
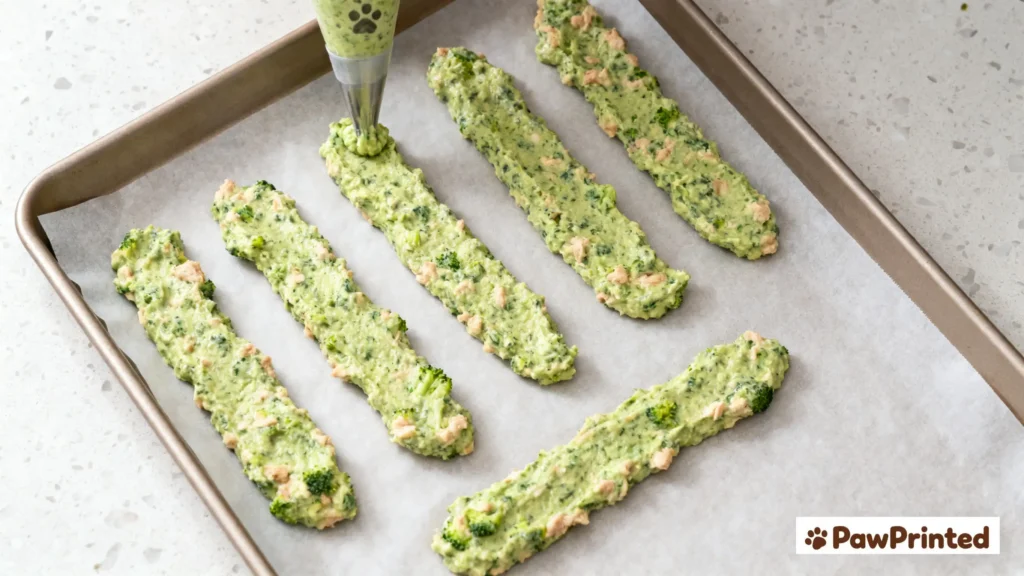
Step 3 — Pipe into Sticks
Transfer the paste into a piping bag (plain round tip) or a zip bag with the corner snipped. Pipe 4–5 inch logs (1–1.5 cm thick) onto dehydrator mesh trays or a parchment-lined baking sheet. Leave space for airflow. Need trays that release easily? I use mesh sheets like
these.
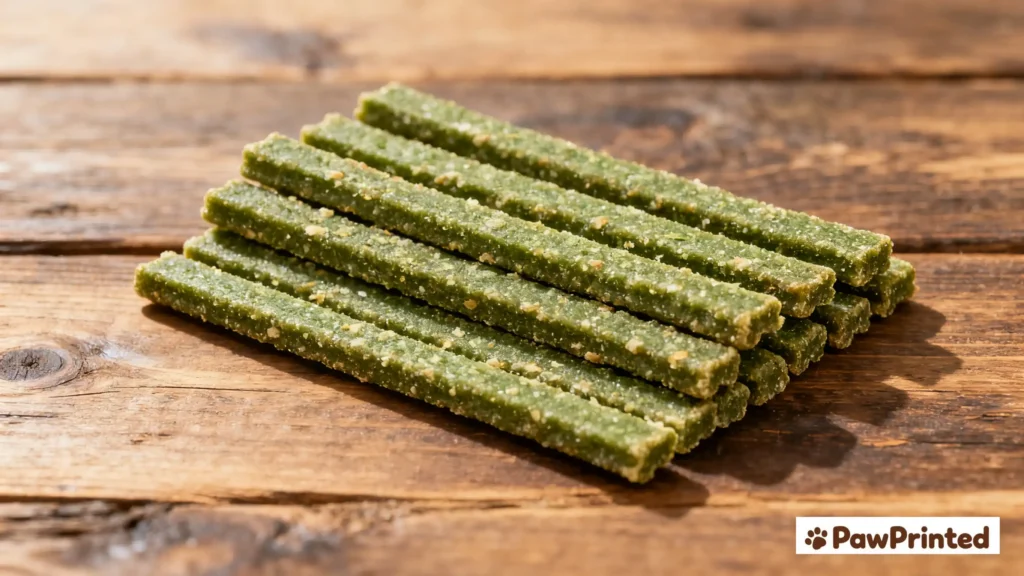
Step 4 — Dehydrate Low & Slow
Dehydrator: Dry at 158°F / 70°C for 10–12 hours until completely dry and firm through the center.
Oven: Bake at the lowest setting (170–190°F / 75–88°C) for 3–5 hours, flipping once; prop the door slightly ajar with a wooden spoon to vent moisture. I usually set mine next to a gentle air-circulation fan. If you prefer a set-and-forget cooker for full meals, we’ve also tested gentle wet options in ourgentle wet food guide.
If you want a countertop cooker that handles full batches of homemade food with precision, look at the ChefPaw-style machines we tried:go/chefpaw.
Step 5 — Cool, Test, and Store
Cool fully on racks. Break one stick—if the center feels rubbery, keep drying. Store in an airtight jar with a food-safe oxygen absorber up to 2–3 weeks at room temp, refrigerate up to 1 month, or freeze up to 3 months. For day-to-day backups on busy weeks, we rotate picks from our
dry food for sensitive stomachs.
Why These Ingredients Work
Chicken breast delivers lean, complete protein that most dogs digest well. Blanched broccoli brings fiber and micronutrients without heavy calories. Keeping the recipe
limited-ingredient helps sensitive pups—read more in ourlimited-ingredient overview.
Quick Safety & Quality Tips
- No seasoning: Skip salt, onion, garlic, chives, xylitol, or spices.
- Dry completely: Moist centers shorten shelf life; sticks should snap cleanly.
- Size matters: Pipe thinner sticks for small breeds; thicker for big chewers.
- Introduce slowly: Start with half a stick if your pup is new to this treat.
Nutritional Breakdown (Approximate)
| Per 100 g dried | Protein | Fat | Carbohydrates |
|---|---|---|---|
| Treat sticks | ~55–65 g | ~6–9 g | ~10–15 g |
Numbers are estimates and vary with moisture and add-ins. For medical diets or long-term planning, ask your vet. For gut support, see ourdog probiotics guide.
How Many to Feed
This is a treat, not a complete meal. Start here: toy dogs 1/2–1 small stick daily; small 1–2; medium 2–3; large 3–4. Reduce meal calories on treat days and monitor body condition. Puppies, seniors, or dogs with medical conditions need personalized guidance.
Storage Tips
- Airtight jar + oxygen absorber: 2–3 weeks at room temp.
- Refrigerator: up to 1 month.
- Freezer: 2–3 months (best quality). Thaw uncovered in the fridge to prevent moisture.
My Dog’s Reaction
Dori loves the crunch and the gentle veggie flavor. She sits by the dehydrator, then does a happy spin when the first test stick snaps—her official quality-control stamp. If your pup prefers fishy flavors, browse ouringredient-based dog food collection
for salmon ideas.
FAQ
Yes. Lean ground turkey works 1:1 and dries beautifully; thigh meat is fine but slightly fattier. Pipe thinner sticks and extend drying time. For sensitive pups, keep it lean and see our sensitive stomach guide.
Yes. Use your oven at the lowest setting (170–190°F / 75–88°C) and vent the door slightly to release moisture. For frequent cooking, consider a countertop cooker like ChefPaw for batch prep.
Room temp with oxygen absorber: 2–3 weeks; fridge: up to 1 month; freezer: 2–3 months. Always dry fully until sticks snap cleanly. For daily convenience, see our dry food picks.
✅ Suitable: Adults, puppies over 6 months, limited-ingredient or grain-free routines. ❌ Not suitable: Dogs allergic to chicken or on protein-restricted veterinary diets.
Which Dogs Can Eat This?
Suitable for: Adult dogs; puppies over 6 months; pups on limited-ingredient or grain-free routines.
Not suitable for: Dogs with chicken allergies; dogs on protein-restricted veterinary diets.
Wrapping It Up
Simple ingredients, big crunch, happy pups—that’s why these sticks live in our treat jar. If you try them, tell me how your dog liked the texture and which size worked best. If you’re stuck, start with gentle wet food, then move to steady dry picks.
Chicken & Broccoli Dog Treat Sticks (Dehydrator or Oven)
- Food processor
- Dehydrator or low-temp oven
- Piping bag / zip bag
- Airtight jars or freezer containers
- 1 lb chicken breast trimmed
- 2 cups broccoli florets blanched & cooled
- 2 –4 tbsp oat flour optional, for binding
- 1 egg white optional, for crisp texture
- 1 –3 tbsp water as needed
- Blanch broccoli for 60–90 seconds, shock in ice water, drain and pat dry.
- Process chicken + broccoli into a paste. Add oat flour/egg white if needed.
- Pipe 4–5 inch logs onto dehydrator trays or parchment.
- Dehydrate at 158°F/70°C for 10–12 hrs, or bake at 170–190°F (75–88°C) for 3–5 hrs, flipping once.
- Cool fully, test dryness (should snap), then store in airtight containers.
• Sticks must be completely dry before storage.
• Treats only, not complete meals — feed in moderation.