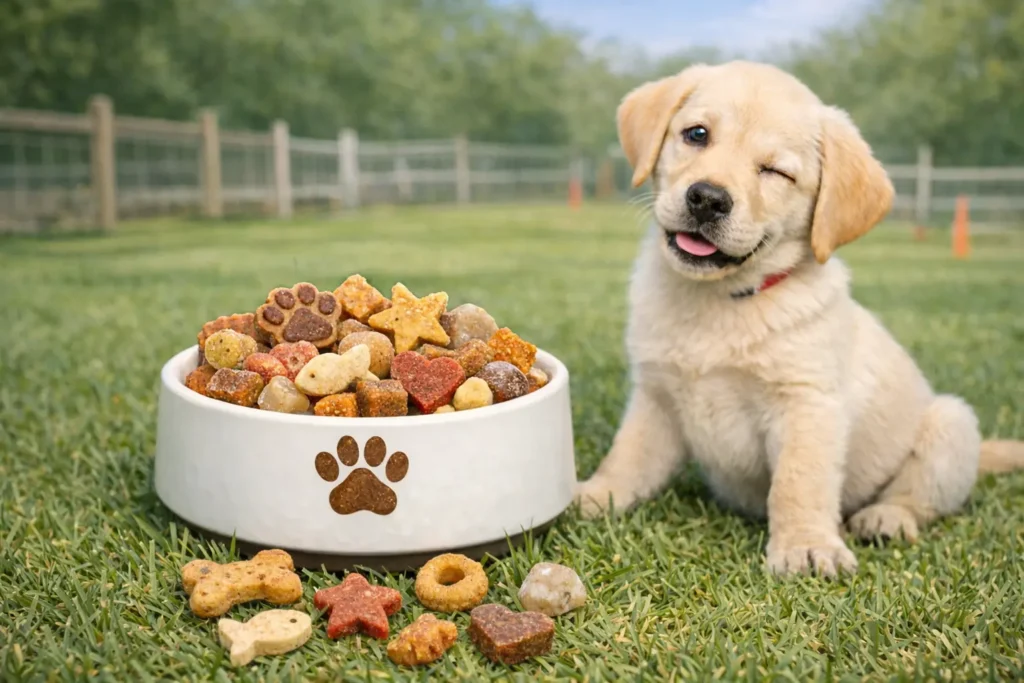
Training treats are a behavior tool. The goal is not to make your dog full. The goal is to make your dog understand, “Yes, that is it,” at the exact moment they do the right thing. If the treat is too big, too slow to chew, or too exciting for the situation, it can break the rhythm you are trying to build.
I like homemade dog training treats because I can control three things that matter in real sessions: size, texture, and ingredient simplicity. That control makes it easier to reward quickly, repeat more often, and keep my dog feeling steady across the week. Below, I walk you through how I choose treats, how I use them responsibly, and the exact questions I hear most from dog parents who are trying to train without overfeeding.
The 10 Best Homemade Dog Training Treats
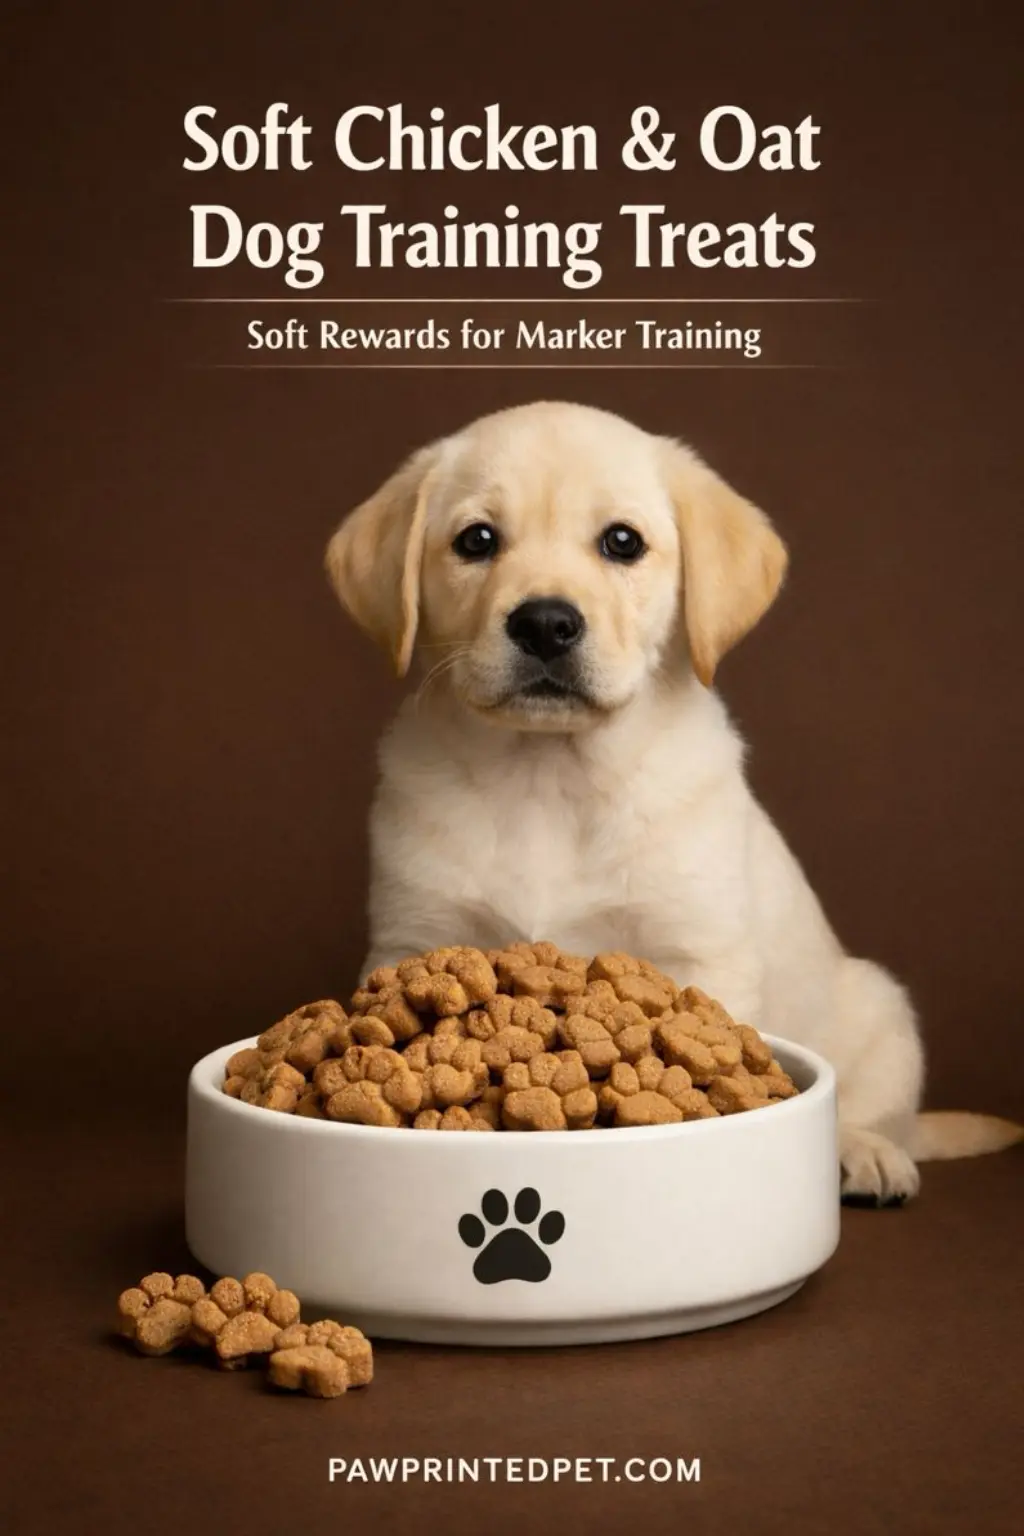
Soft chicken and oat treats designed for fast chewing and easy swallowing. The texture breaks cleanly between fingers and works especially well for marker training, puppy foundations, and any session that relies on high-frequency rewards.
Quick Overview
- Prep Time: 10 minutes
- Cook Time: 18 minutes (oven-baked)
- Total Time: 30 minutes
- Yield: About 120 small training treats
- Focus: Soft texture and clean reward timing
Main Ingredients I Use:
Cooked chicken, rolled oats, egg, water
Tools You’ll Want Ready:
Mixing bowl, spatula, baking sheet, cooling rack
Step-by-Step
- Prepare the base. Finely shred or mince cooked chicken so it blends smoothly into the dough.
- Mix evenly. Combine chicken, oats, egg, and water until the mixture holds together without being sticky.
- Shape and bake. Press the dough flat on a lined baking sheet and bake until just set but still soft.
- Cool and cut. Let the slab cool fully, then cut into small, breakable training-size pieces.
Emma’s Notes
When I want a consistent dough without overworking it, I mix everything using a stand mixer so the texture stays soft and uniform across the entire batch.
After baking, I always cool the slab completely before cutting. This keeps the edges from crumbling and helps each piece break cleanly during training.
These treats are most effective when paired with the Marker Training Method with Soft Rewards , especially during early learning stages where timing matters more than excitement.
Things To Watch
- Do not overbake or the treats will lose their soft texture.
- Keep piece size very small to avoid interrupting training flow.
- Store refrigerated if using within a few days.
- Freeze extras in single-session portions.
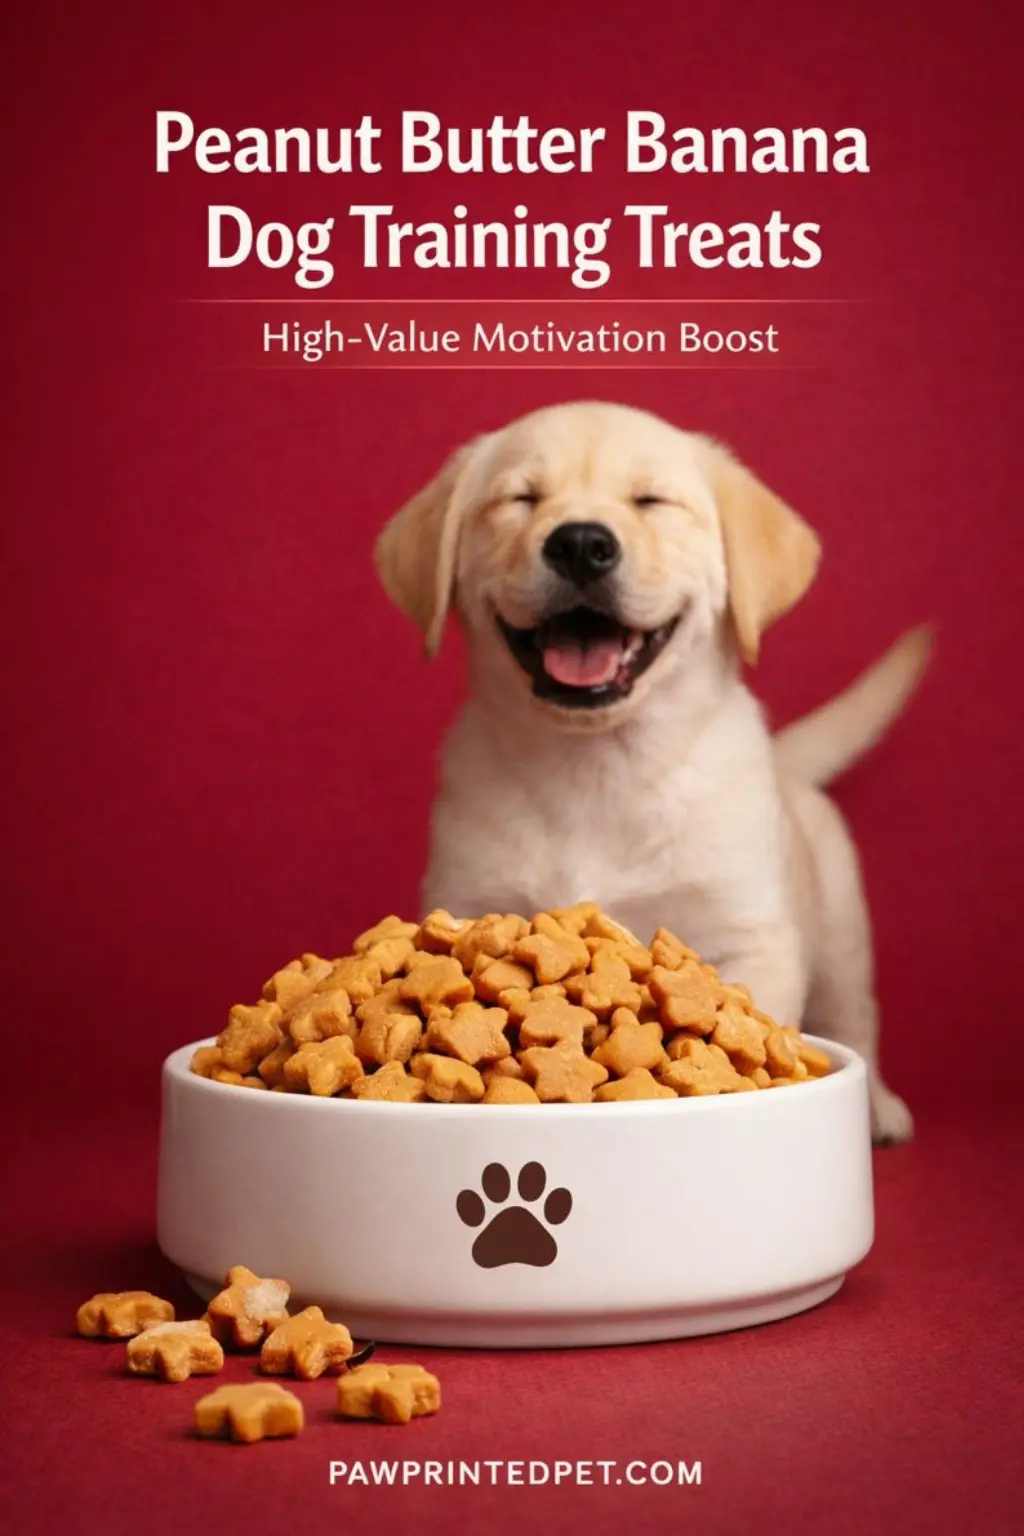
Peanut butter and banana create a strong aroma and natural sweetness that most dogs lock onto instantly. These treats are designed for high-distraction environments and short, focused training bursts when you need attention back fast.
Quick Overview
- Prep Time: 8 minutes
- Cook Time: 15 minutes (oven-baked)
- Total Time: 25 minutes
- Yield: About 100 small training treats
- Focus: High-value aroma and fast engagement
Main Ingredients I Use:
Ripe banana, natural peanut butter, oat flour, egg
Tools You’ll Want Ready:
Mixing bowl, fork or spatula, baking sheet, cooling rack
Step-by-Step
- Mash the base. Fully mash the banana until smooth so it blends evenly into the dough.
- Combine gently. Mix in peanut butter, egg, and oat flour until the dough holds together.
- Shape and bake. Spread the dough thin on a lined baking sheet and bake just until set.
- Cool and portion. Cool completely, then cut into very small, soft training pieces.
Emma’s Notes
When I need maximum scent impact without adding extra ingredients, I use a small amount of natural peanut butter and make sure it is fully mixed so every piece smells the same.
I keep these treats slightly underbaked. A softer texture means faster chewing, which helps keep training sessions moving.
This recipe works best alongside the High-Value Motivation Reset Method , especially when distractions start pulling focus away.
Things To Watch
- Use only peanut butter with no xylitol or added sweeteners.
- Keep portions very small due to calorie density.
- Store refrigerated and use within a few days.
- Freeze extras to preserve aroma and texture.
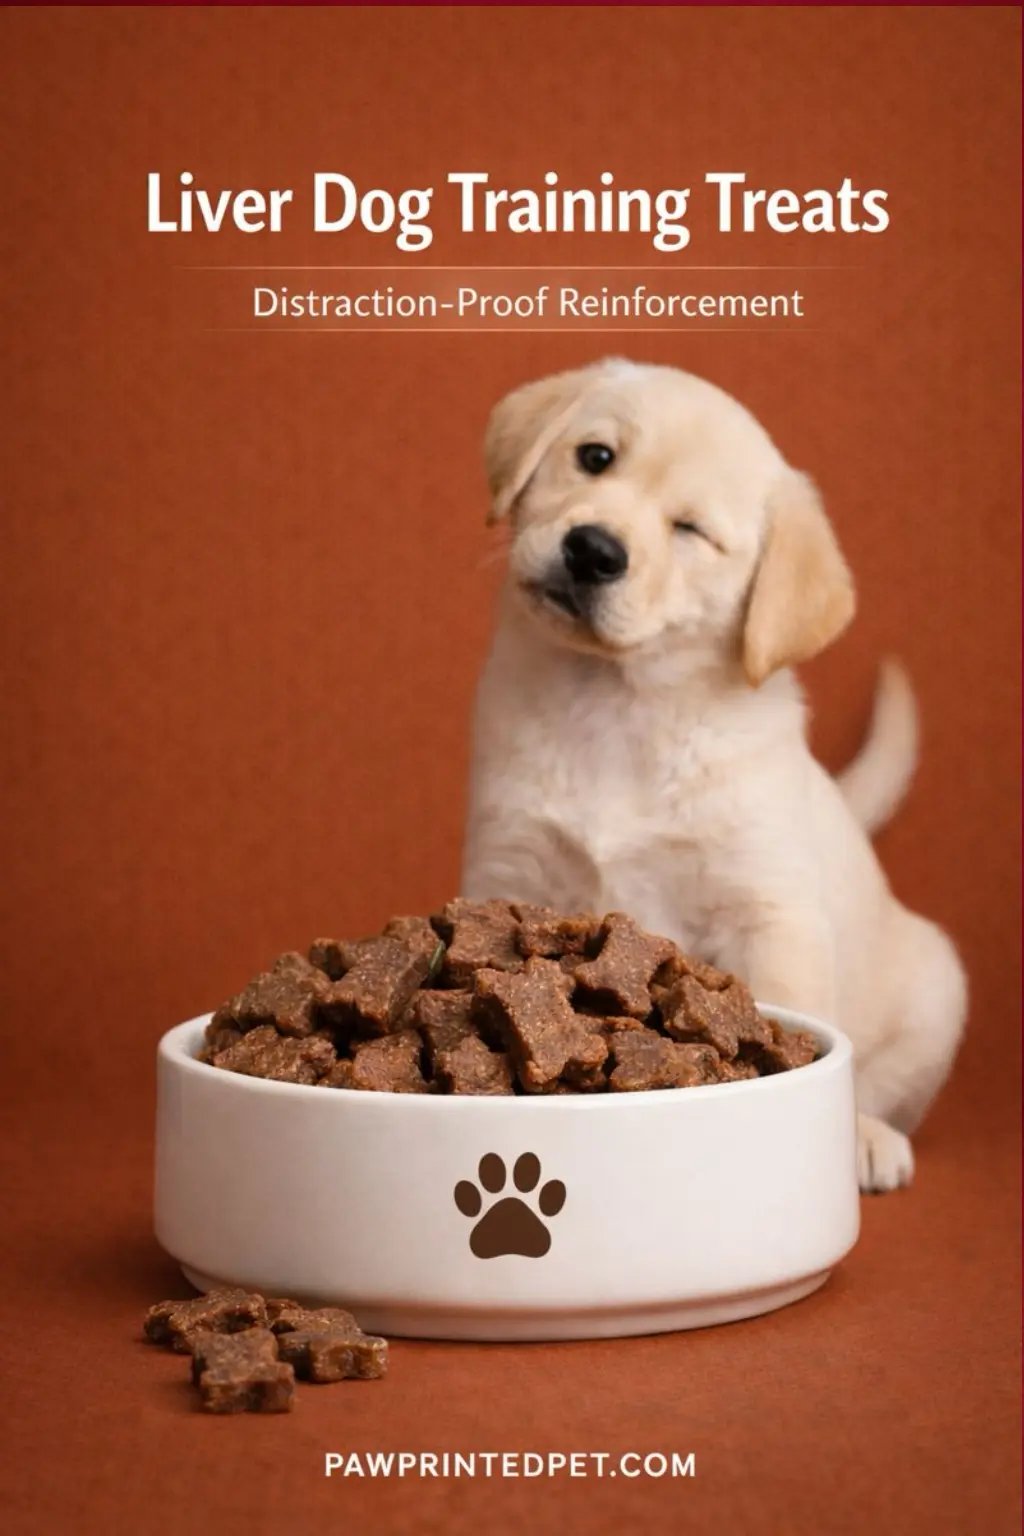
Oven-dried liver treats deliver an intense, unmistakable aroma that cuts through outdoor distractions. These are reserved for high-challenge moments when standard rewards simply cannot compete.
Quick Overview
- Prep Time: 10 minutes
- Cook Time: 90–120 minutes (low oven drying)
- Total Time: About 2 hours
- Yield: Several weeks of training rewards
- Focus: Maximum scent strength for distraction-heavy training
Main Ingredients I Use:
Fresh liver (beef or chicken)
Tools You’ll Want Ready:
Sharp knife, cutting board, baking sheet, cooling rack
Step-by-Step
- Slice evenly. Cut the liver into thin, uniform strips so drying is consistent.
- Arrange with airflow. Lay pieces with space between them to allow moisture to escape.
- Dry low and slow. Bake at low temperature until fully dried but not burnt.
- Cool completely. Let treats cool before breaking into training-sized pieces.
Emma’s Notes
When I want the strongest possible scent without scorching the liver, I prefer using a stainless steel digital dehydrator to keep heat steady and controlled.
I store these treats separately and only bring them out for difficult environments. Overusing liver reduces its impact.
This recipe pairs especially well with the Distraction-Proof Training Method , where reward value must outweigh environmental noise.
Things To Watch
- Keep portions extremely small due to richness.
- Avoid feeding too frequently in a single session.
- Ensure treats are fully dried to prevent spoilage.
- Wash hands and surfaces thoroughly after prep.
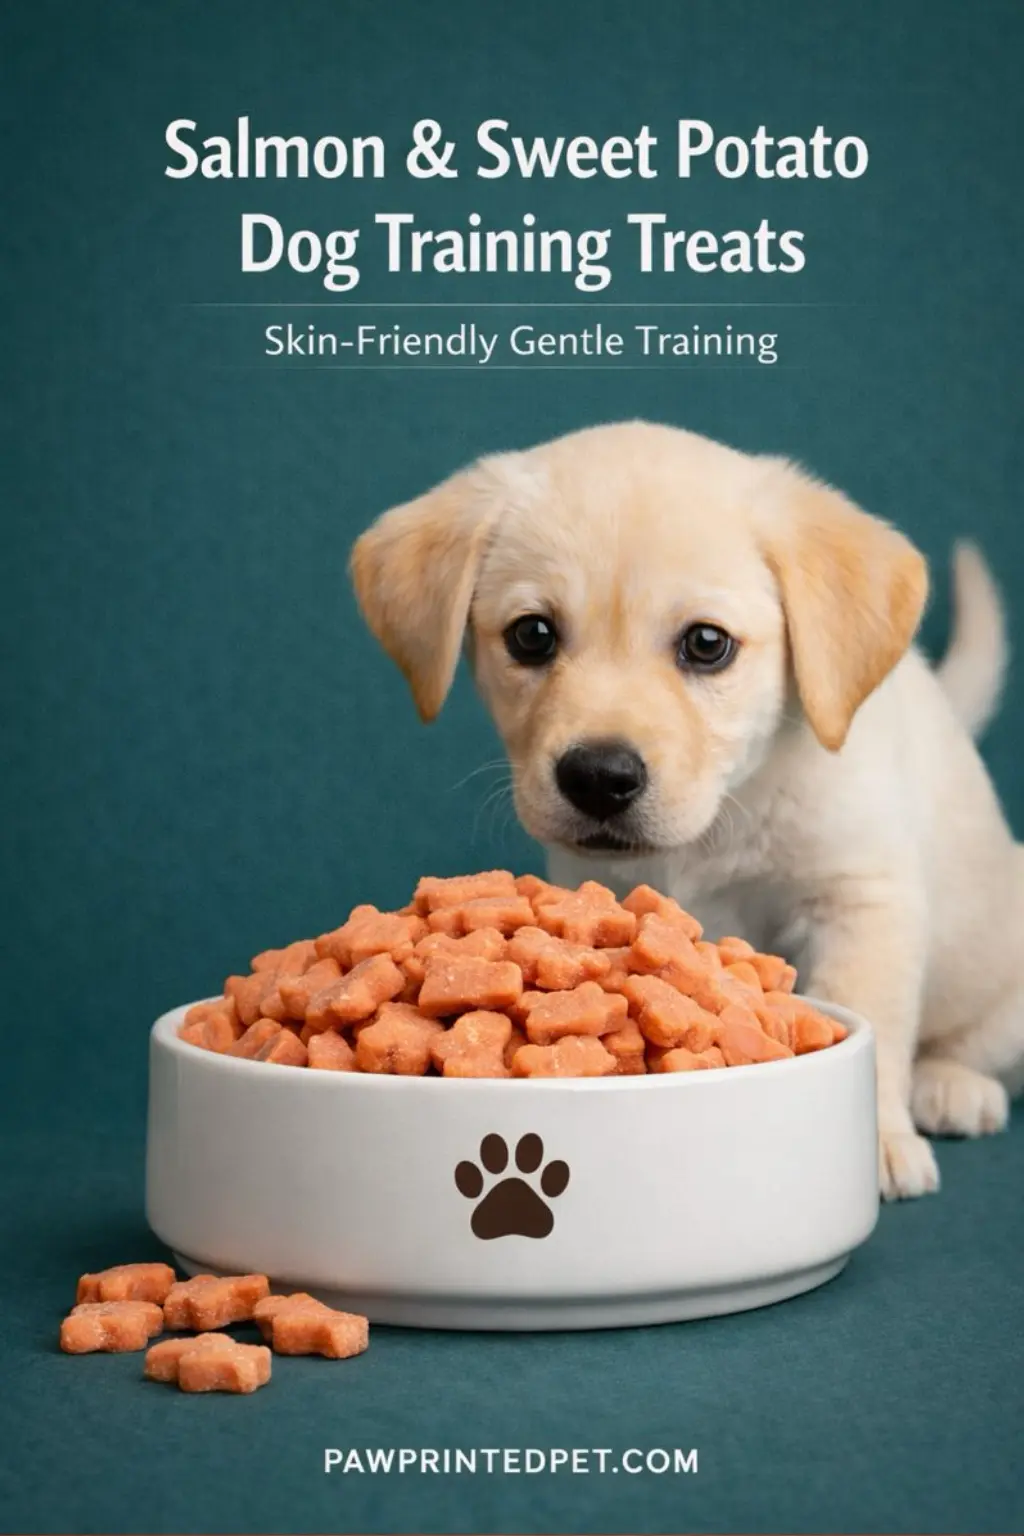
These salmon and sweet potato treats are designed for dogs who need stable digestion and skin comfort while training. They support consistency without adding unnecessary stress or stimulation.
Quick Overview
- Prep Time: 15 minutes
- Cook Time: 25–30 minutes (oven-baked)
- Total Time: About 45 minutes
- Yield: Multiple training sessions
- Focus: Skin support and digestive stability
Main Ingredients I Use:
Cooked salmon, mashed sweet potato
Tools You’ll Want Ready:
Mixing bowl, fork or masher, baking sheet
Step-by-Step
- Prepare the base. Flake the cooked salmon finely and mash the sweet potato until smooth.
- Combine gently. Mix until just blended, avoiding overworking the mixture.
- Shape evenly. Spread thin or portion into small training-sized pieces.
- Bake until set. Bake until firm but still slightly soft inside.
Emma’s Notes
When I want these treats to stay soft without drying out the salmon, I bake them on a ceramic-coated baking sheet so heat stays gentle and even.
I use this recipe during longer training phases where skin or digestion needs to stay calm for weeks, not just a single session.
This fits naturally into the Sensitive Dog Training Continuity Method , where physical comfort directly affects learning progress.
Things To Watch
- Keep portions small to avoid excess fat intake.
- Fully cool treats before storage.
- Monitor skin and stool changes over time.
- Refrigerate or freeze unused portions promptly.
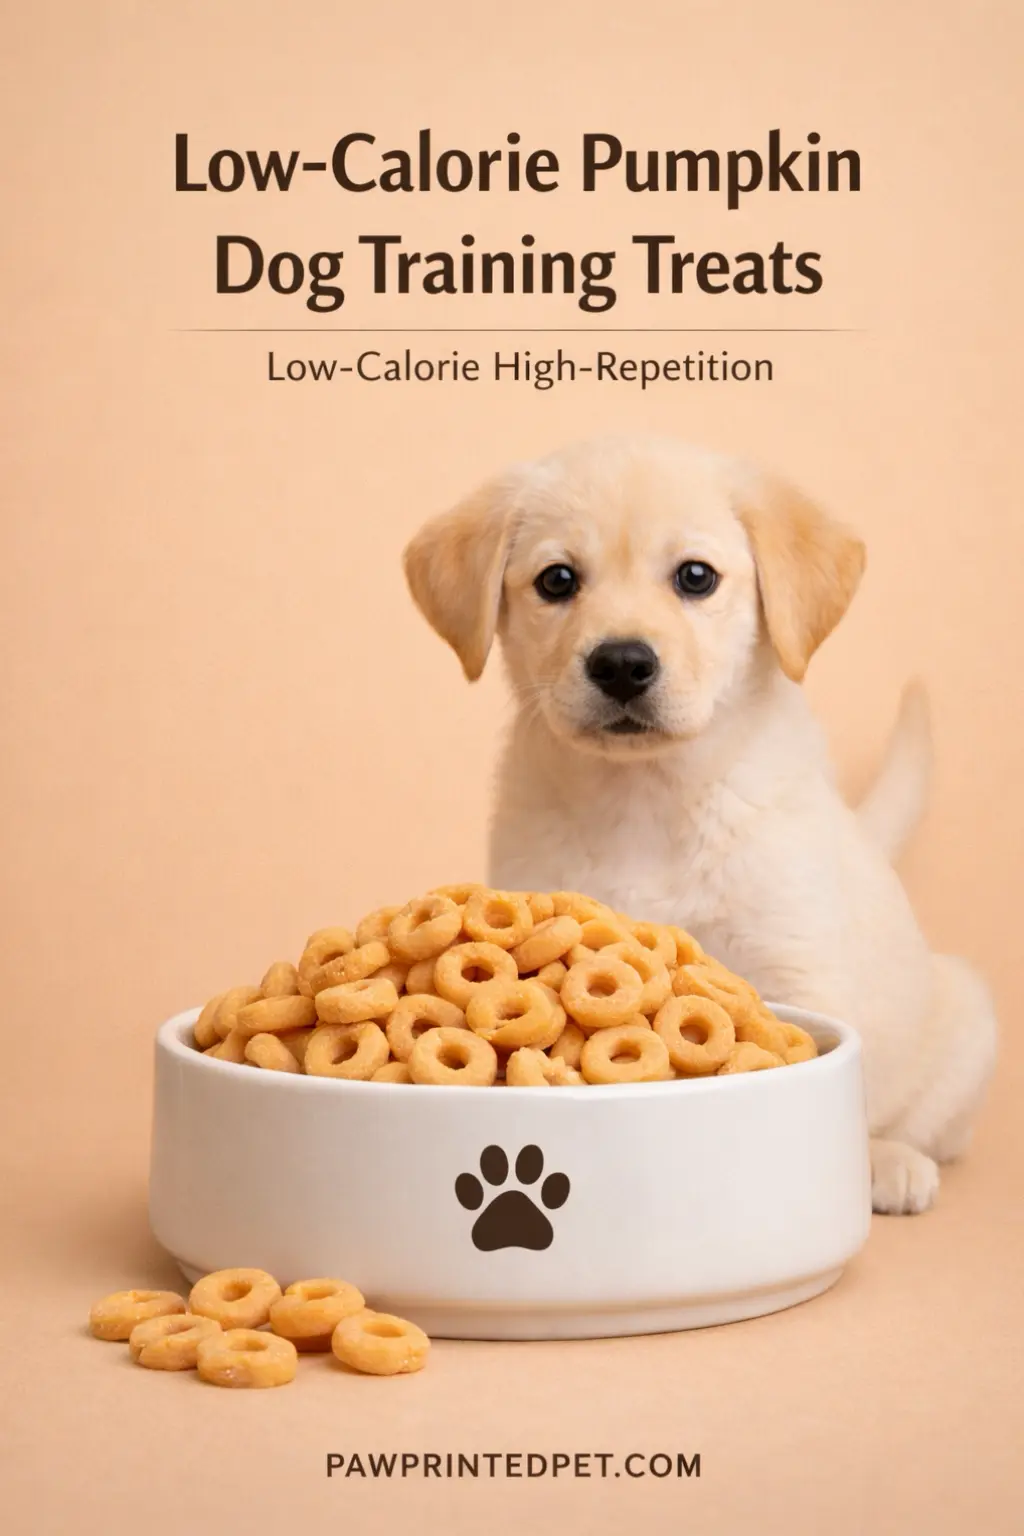
These pumpkin-based training treats are designed for high-repetition sessions where calorie control matters more than excitement. They help maintain rhythm and focus without adding metabolic load.
Quick Overview
- Prep Time: 10 minutes
- Cook Time: 20–25 minutes (oven-baked)
- Total Time: About 35 minutes
- Yield: High-volume training batches
- Focus: Low calorie, high repetition control
Main Ingredients I Use:
Plain pumpkin puree, oat flour or binding base
Tools You’ll Want Ready:
Mixing bowl, spatula, baking sheet
Step-by-Step
- Prepare the pumpkin base. Use plain, unsweetened pumpkin and bring it to a smooth consistency.
- Add binder gradually. Mix in just enough dry ingredient to hold shape without stiffness.
- Portion small. Shape into very small, uniform pieces for rapid reinforcement.
- Bake until dry-set. Bake until the surface sets while keeping the inside light.
Emma’s Notes
When I need dozens of tiny rewards without guessing portion size, I cut the sheet evenly using a small portion cutter set so each piece stays predictable.
This recipe is one of my defaults during long clicker sessions where Ethan earns many repetitions in a short time.
It works especially well with the Low-Calorie High-Repetition Training Method , where reward frequency matters more than intensity.
Things To Watch
- Always use plain pumpkin with no added sugar or spices.
- Keep treats very small to preserve calorie advantage.
- Allow full cooling before storage.
- Adjust binder amount based on moisture level.
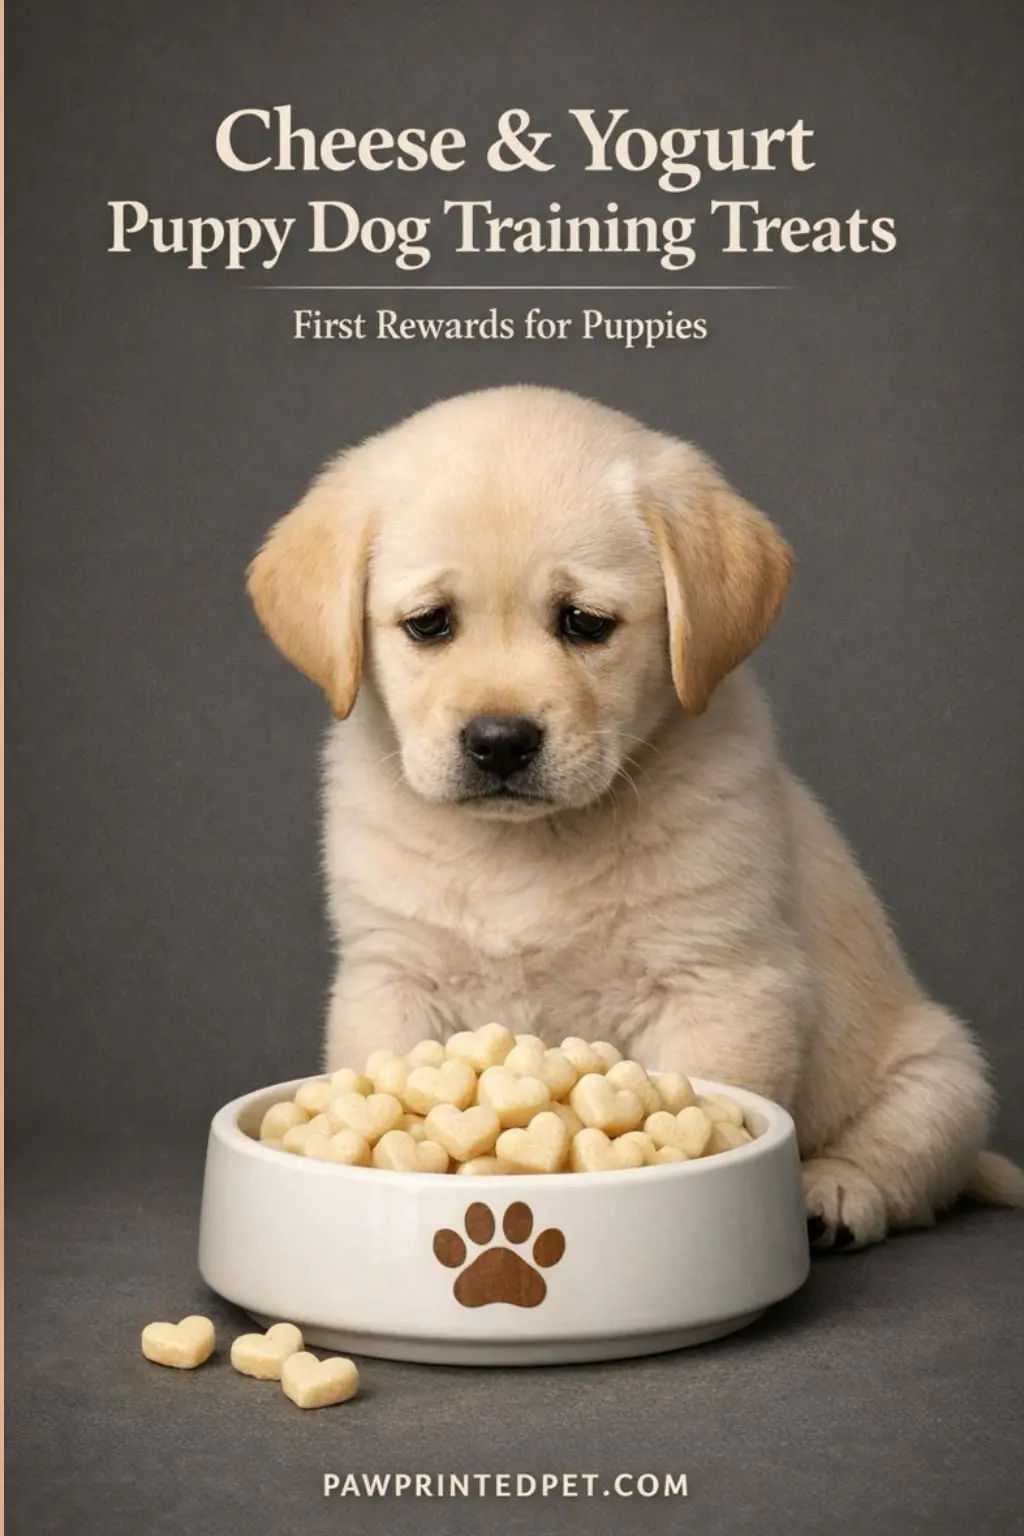
These soft cheese and yogurt treats are designed for puppies who are just learning how training works. The texture stays gentle, calming, and easy to swallow during early sessions.
Quick Overview
- Prep Time: 10 minutes
- Cook Time: 15–20 minutes (low heat)
- Total Time: About 30 minutes
- Yield: Small, soft puppy-sized pieces
- Focus: Soft texture, calm engagement, puppy-safe
Main Ingredients I Use:
Mild cheese, plain yogurt, gentle binding base
Tools You’ll Want Ready:
Mixing bowl, silicone mold or baking tray
Step-by-Step
- Blend the dairy base. Mix cheese and yogurt until smooth with no visible lumps.
- Add binder slowly. Keep the mixture soft enough to press, not roll.
- Portion gently. Shape into very small pieces suitable for puppy mouths.
- Cook low and slow. Bake briefly or steam until set but still soft.
Emma’s Notes
For puppy treats like this, I rely on flexible molds so the pieces release without tearing. A soft silicone mold tray keeps everything uniform without pressing too hard.
I usually store these in very small portions and rotate them quickly since puppies tend to train in short, frequent bursts.
This recipe fits naturally into the Puppy Foundation Training Method , where rewards need to feel safe and predictable before they feel exciting.
Things To Watch
- Use only plain yogurt with no sweeteners or flavors.
- Keep cheese mild and low in salt.
- Introduce dairy slowly if this is a new ingredient.
- Store refrigerated and use within a short window.
This is my “keep it quiet” training treat for dogs that spiral into overexcitement fast. The texture stays soft-chewy instead of crunchy-loud, so reinforcement can happen without accidentally revving the room up.
Quick Overview
- Prep Time: 10 minutes
- Cook Time: 25 minutes (gentle bake)
- Total Time: About 40 minutes
- Yield: Bite-size training pieces
- Focus: Low-arousal reinforcement, calm obedience maintenance
Main Ingredients I Use:
Oats, cooked fish, simple binder (as needed)
Tools You’ll Want Ready:
Mixing bowl, baking tray, cooling rack, knife for portioning
Step-by-Step
- Cook and cool the fish first. I let it cool enough to handle so it mixes evenly and doesn’t create wet pockets.
- Mix into a calm, even dough. I aim for a soft dough that holds together without being sticky.
- Shape small and consistent. Uniform pieces keep reward timing predictable, especially during calm reps.
- Bake gently and cool fully. A gentle bake keeps the aroma present but not intense, then I cool the treats before storage.
Emma’s Notes
For calm-maintenance treats, I care more about texture than “extra flavor.” After baking, I cool everything on a stainless cooling rack so the pieces stay soft-chewy instead of turning sticky underneath.
If your dog gets louder or more jumpy after treats, the method section in Calm Obedience Maintenance Method can help you keep reinforcement steady without adding arousal.
Things To Watch
- Keep pieces small so you can reward frequently without escalating energy.
- If fish smell feels too stimulating, reduce portion size rather than adding ingredients.
- Cool fully before storing, or the texture will drift and get sticky.
- Use this for calm reps, not high-drive sprint sessions.
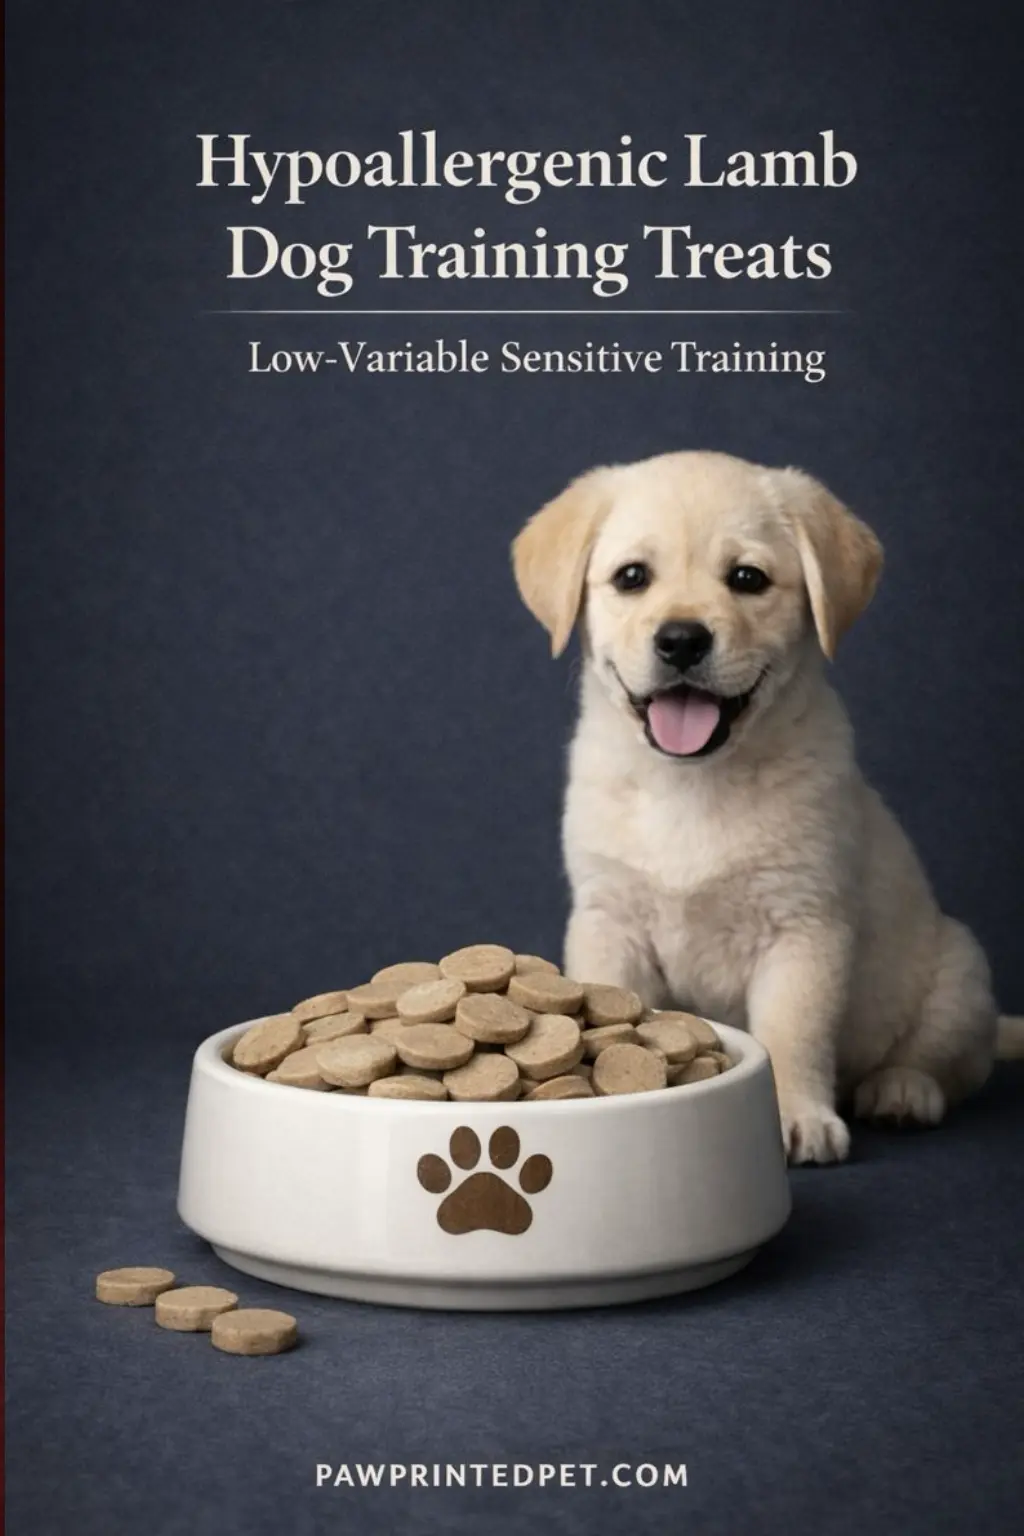
This is one of the treats I rely on when food reactions start interfering with training. Using a single, gentle protein keeps reinforcement predictable, so behavior work doesn’t get tangled up with digestive or skin flare-ups.
Quick Overview
- Prep Time: 10 minutes
- Cook Time: 30 minutes (gentle bake)
- Total Time: About 45 minutes
- Yield: Small training-size pieces
- Focus: Hypoallergenic, single-protein training support
Main Ingredients I Use:
Ground lamb, simple binder if needed
Tools You’ll Want Ready:
Mixing bowl, baking tray, cooling rack, knife
Step-by-Step
- Cook lamb thoroughly first. I make sure the lamb is fully cooked and cooled slightly so it mixes evenly.
- Form a simple, uniform dough. No extra ingredients unless texture truly needs support.
- Shape small and consistent pieces. Smaller size helps avoid overfeeding during repeated reps.
- Bake gently and cool completely. Gentle heat keeps aroma controlled instead of overwhelming.
Emma’s Notes
When I’m troubleshooting reactions, storage matters as much as ingredients. I portion single-protein batches into airtight meal prep containers so each training session stays consistent.
If your dog does better behavior-wise once food variables are reduced, the explanation in Sensitive Dog Training Continuity Method can help you plan rotations without resetting progress.
Things To Watch
- Keep recipes truly single-protein when reactions are active.
- Watch stool and skin before adjusting training intensity.
- Cool fully before storage to avoid moisture buildup.
- Use small rewards to protect both digestion and focus.
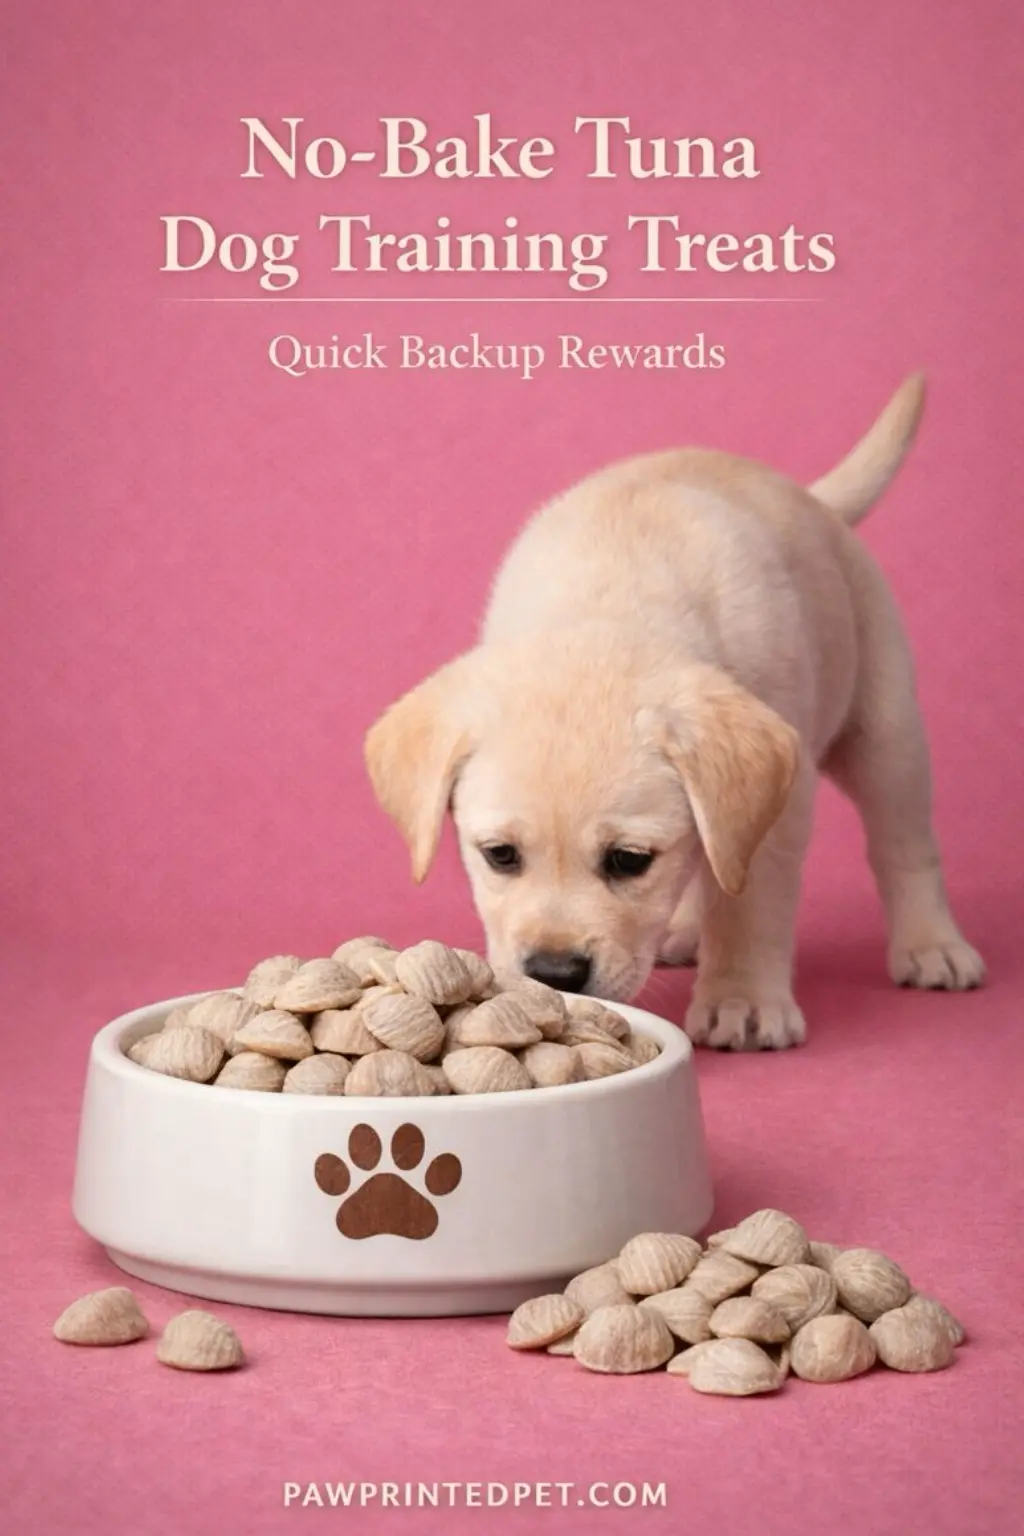
This is my backup treat for days when training happens unplanned. No baking, no prep stress. Just something fast, smelly enough to work, and easy to portion when you need reinforcement immediately.
Quick Overview
- Prep Time: 5 minutes
- Cook Time: None
- Total Time: About 10 minutes
- Yield: Multiple quick training portions
- Focus: Emergency reinforcement, no-bake convenience
Main Ingredients I Use:
Canned tuna in water, simple binder if needed
Tools You’ll Want Ready:
Mixing bowl, spoon, freezer-safe container
Step-by-Step
- Drain tuna thoroughly. Excess moisture makes shaping harder and affects storage.
- Mix into a soft, workable texture. I keep it simple so smell stays strong without additives.
- Portion immediately. Small portions prevent overuse during rapid repetitions.
- Freeze or chill before use. This firms up texture and extends usability.
Emma’s Notes
When I know I’ll need fast access, I portion these into freezer-safe silicone containers so I can grab one without thawing a full batch.
This type of treat fits perfectly into the logic explained in Quick Reinforcement Backup Method , especially when training opportunities appear unexpectedly.
Things To Watch
- Use tuna sparingly due to strong aroma.
- Always drain well to avoid soggy texture.
- Label portions clearly to avoid overuse.
- Best for short bursts, not long sessions.
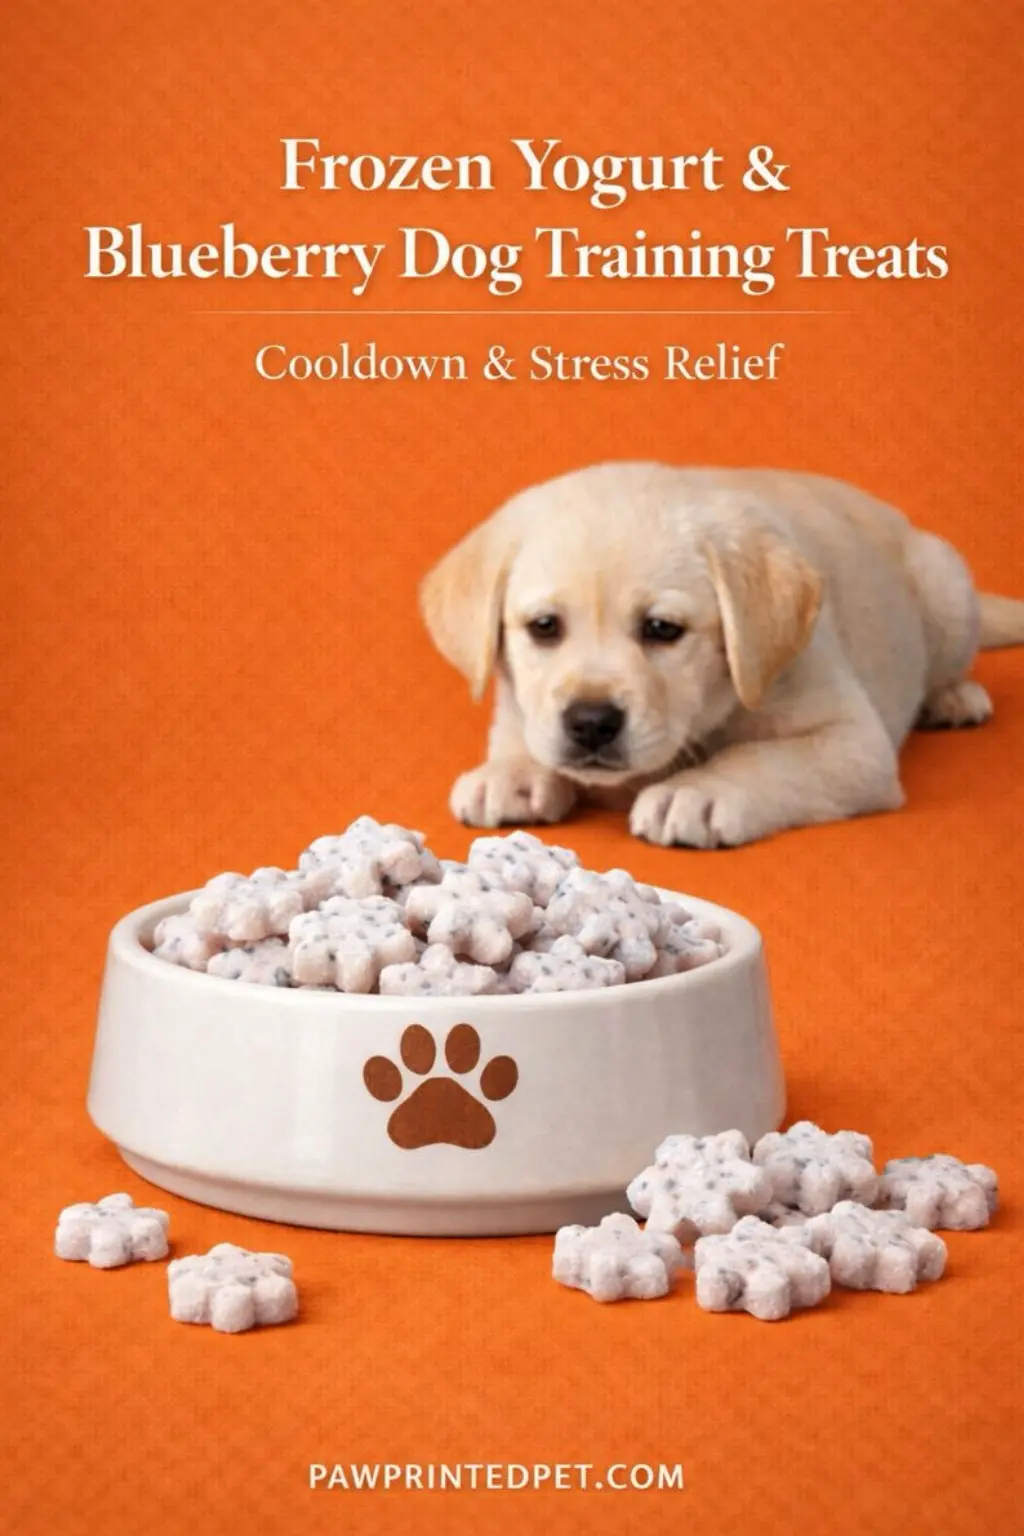
This is my “cooldown treat” for hot days or after an intense training moment. The texture is lickable and slow, so it naturally stretches calm time without me adding extra cues. I use it when I want reinforcement to feel soothing, not hyped.
Quick Overview
- Prep Time: 8 minutes
- Cook Time: None
- Total Time: 8 minutes + freeze time
- Yield: Several small training portions
- Focus: Cooldown, lickable calm reinforcement
Main Ingredients I Use:
Plain yogurt, blueberries, simple mix-ins as needed
Tools You’ll Want Ready:
Mixing bowl, spoon, mold or portioning container, freezer space
Step-by-Step
- Lightly mash the blueberries. I keep some texture so my dog gets tiny flavor pops without turning it into a watery puree.
- Mix with yogurt until smooth. The goal is a thick, spoonable consistency that freezes evenly and stays lick-friendly.
- Portion into small units. I avoid one big block – small portions keep training controlled and repeatable.
- Freeze, then store for quick grabs. Once frozen, I move portions into a dedicated spot so they do not pick up freezer odors.
Emma’s Notes
When I want the treat to last longer and keep the dog in a calmer rhythm, I serve it in a slow feeder bowl so licking becomes the reinforcement instead of rapid chewing.
For freezer batching, I portion and stack with freezer-safe silicone containers because I can pop out one portion without thawing anything else.
If this “cooldown reinforcement” is something you want to build into your routine, the approach in Cooldown & Stress-Relief Method explains when to use slow, lickable rewards without accidentally revving your dog back up.
Things To Watch
- Keep portions small, especially if your dog is new to frozen treats.
- Use plain yogurt and avoid sweetened options.
- Freeze in single servings so you can control training frequency.
- Store in sealed containers to prevent freezer odors transferring.
Some links above are affiliate links. They never cost you extra, and they help us keep testing foods, tools, and daily routines with Ethan so these guides stay honest and practical.
Why I Use These Treats in Real Training Sessions
I rotate treats based on the training environment and the kind of focus I need from Ethan. Indoors, I can often use simpler, lower value options because the room itself is not competing for his attention. Outside, everything changes. Smells, movement, and other dogs can pull focus fast, so I keep a higher value option ready for the moments that really count.
I also plan treats around session length. For short, high quality practice, I can use a richer reward and keep the total amount small. For longer sessions with lots of repetition, I lean on lower calorie treats so I can reward often without drifting into overfeeding. The big idea is simple: match the treat to the job, and your training stays cleaner and more consistent.
How to Choose the Right Training Treat for Your Dog
Treat Value
High value treats are best for hard moments: distractions, new environments, or a skill your dog finds difficult. Everyday treats are for steady practice. If everything is high value, nothing is special.
Texture
Soft treats work well for rapid reps and puppies because chewing is quick. Firmer treats can be useful when you want slower eating between reps, but they should not stall your timing.
Size
Training is not snack time. Small pieces keep motivation high while protecting your dog from too many calories. Think “tiny reward,” not “full bite.”
Frequency
Long sessions need a plan. If you will reward a lot, choose lower calorie options and keep the pieces small. If you will reward only a few times, you can use a higher value treat more safely.
Training Treat Safety and Rewarding Principles
Small and Fast
The best training treat is easy to deliver and quick to chew. Faster rewards mean better timing, and better timing means faster learning.
Reward the Behavior, Not the Guessing
Reward clearly. If the dog is almost doing it, wait for the clean moment. Consistency is kinder than random payouts.
Plan the Session, Not the Bag
Before you start, decide how many treats you will use and what skill you are reinforcing. That keeps training intentional and prevents “just one more” drift.
Fade Slowly
Treats support learning. Over time, you want a mix of treats, praise, and life rewards. Reduce treat frequency gradually, not overnight.
Training treats should support learning, not replace communication.
Common Mistakes When Using Training Treats
Treats Are Too Large
Large pieces slow chewing and break rhythm. They also inflate calories quickly during repetition. Small pieces keep sessions clean.
High Value Treats Used All the Time
If every reward is “the best,” your dog can lose interest or become picky. Save the strongest treats for the hardest moments.
Late Reward Timing
A delayed treat can reward the wrong behavior. If timing is hard, use a marker word or click to capture the exact moment.
Sessions Run Too Long
Many training problems are fatigue problems. Short sessions protect focus and prevent frustration for both you and your dog.
If your training feels messy, reduce session length first. Then adjust treat value and treat size.
How Often Should You Use Training Treats
In early training, treats are often frequent because you are building clarity. As your dog understands the skill, you can shift to fewer treats and more variety in rewards. I like to think in phases: teach, strengthen, and maintain. Teaching can be treat heavy. Strengthening uses treats strategically. Maintenance blends treats with praise, play, and real life rewards like going out the door, greeting a friend, or sniffing a favorite spot.
If you are training daily, it helps to set a simple rule: treat rewards should fit inside your dog’s overall daily intake. For longer sessions, use smaller pieces or a lower calorie recipe. For short sessions, you can use a higher value treat and still keep the total amount reasonable. The most important habit is consistency. A predictable reward system builds trust and keeps your dog engaged.
Can Homemade Training Treats Replace Store Bought Ones
Homemade dog training treats can absolutely cover most training needs, especially when you want control over ingredients and treat size. That said, store bought treats can be useful when you need maximum convenience, travel friendly packaging, or a very specific texture. I treat homemade as my everyday base and store bought as a backup tool. The best choice is the one you can use consistently, safely, and with good timing.
If you are new to homemade treats, keep it simple at first. Pick one recipe that matches your training style and your dog’s tolerance, then test it during easy sessions at home. Once you know how your dog responds, you can build a small rotation so you always have the right reward for the job.
FAQ
Are training treats bad for dogs
Training treats are not bad for dogs when they are used with intention and portion awareness. The main risk is not the concept of treats, it is the total amount and the way they are used. During training, dogs can eat many rewards in a short time, so treat size and session planning matter. I aim for small pieces that can be eaten quickly, and I decide in advance how many rewards I will use in that session. If your dog is gaining weight, getting loose stools, or losing interest in regular meals, that is a sign to adjust treat frequency, treat size, and treat richness. A helpful approach is to use higher value treats only for difficult moments and choose lower calorie options for repetition. When treats support clear communication and do not exceed daily intake, they are a safe and effective training tool.
How many training treats is too many
“Too many” depends on your dog’s size, activity level, and how long the training session is, but the practical guideline is to keep treats as a controlled part of daily intake. If you reward frequently, the pieces should be tiny and the recipe should be lower calorie. I also like to separate training into short blocks so I can reassess between blocks, rather than feeding continuously for a long stretch. Signs you may be overdoing it include weight gain, softer stool, reduced appetite for normal meals, and a dog who becomes frantic rather than focused. If you see those, reduce treat size first, then reduce frequency, and shorten sessions. You can also mix in non food rewards like praise, a quick toy tug, or permission to sniff. The goal is consistent learning, not constant eating.
Can puppies have training treats every day
Yes, puppies can have training treats every day, and most puppies benefit from frequent rewards while they are learning foundational skills. The key is keeping the rewards small, soft, and easy to chew so training stays smooth and your puppy does not get frustrated or tired. I treat daily puppy training as a series of micro sessions, just a few minutes at a time, with tiny rewards and lots of breaks. Because puppies are growing, it is especially important to avoid replacing their balanced meals with too many extras. Choose simple recipes, keep sessions short, and watch stool consistency and energy levels. If your puppy gets gassy or loose stool, scale back richness and switch to simpler ingredients. Daily treat use is fine when it supports learning and stays within reasonable intake for the day.
References – Authoritative Sources
I use these sources to stay aligned with reward-based training principles and responsible treat use. They are also useful if you want deeper guidance beyond recipes.
-
American Kennel Club (AKC) – Reward-Based Training Basics
AKC. Updated regularly.
Visit sourcePractical guidance on positive reinforcement and how rewards support learning and behavior.
-
Tufts University Cummings School of Veterinary Medicine – Pet Food and Treat Guidance
Tufts Vet School. Updated regularly.
Visit sourceEvidence-based nutrition education, including how treats fit into overall intake and weight management.
-
PetMD – Treat Use and Overfeeding Risks
PetMD. Updated regularly.
Visit sourceAccessible explanations of feeding balance, portion awareness, and common signs of overfeeding.
-
AVSAB – Position Statement on Humane Dog Training
American Veterinary Society of Animal Behavior (AVSAB). Updated regularly.
Visit sourceProfessional standards that support reward-based, humane training approaches.
Final Thoughts
If there is one thing I want you to take from this guide, it is that training treats work best when they are matched to the moment. Use softer treats for fast learning, higher value treats for harder environments, and lower calorie treats for longer sessions. Keep the pieces small, keep the timing clean, and keep the training kind.
If you are unsure where to start, begin with a soft, lower calorie option and practice in a quiet space at home. Once your dog is confident, you can introduce a higher value treat for distractions and new places. That simple progression has helped me keep training steady and enjoyable.
Explore More PawPrinted Guides
Training does not live in isolation. The way we feed, reward, and communicate with our dogs all connect over time. If you want to explore how meals, treats, and training methods work together in real life, these guides can help you build a more complete routine.
Dog Food Guides
A practical hub for understanding everyday dog meals, ingredient choices, and how food supports long term health and stability.
Dog Treat Guides
Learn how different types of treats fit into daily routines, training sessions, and special moments without overdoing rewards.
Dog Training Methods with Treats
A method focused guide that explains how different training approaches pair with the right type of rewards for clearer learning.

Soft Chicken & Oat Training Treats Recipe
- – Mixing bowl
- Spoon or spatula
- Baking tray
- Parchment paper
- Knife or pizza cutter
- Cooked chicken breast finely chopped
- Rolled oats
- Egg
- Water or low-sodium chicken broth
- Preheat the oven to 350°F (175°C). Line a baking tray with parchment paper.
- In a mixing bowl, combine finely chopped cooked chicken and rolled oats. Stir until evenly distributed.
- Add the egg and a small amount of water or broth. Mix until a soft, spreadable dough forms.
- Spread the mixture evenly on the prepared baking tray, keeping the layer thin for quicker baking and softer texture.
- Bake for 20–25 minutes, until the surface is set but still slightly soft to the touch.
- Let cool completely, then cut into very small, bite-size pieces suitable for training rewards.
• For puppies or smaller dogs, cut pieces extra small to support high-frequency reinforcement.
• Store refrigerated for up to 5 days, or freeze in small batches for longer use.
• Always introduce new treats gradually and adjust training portions to avoid overfeeding.